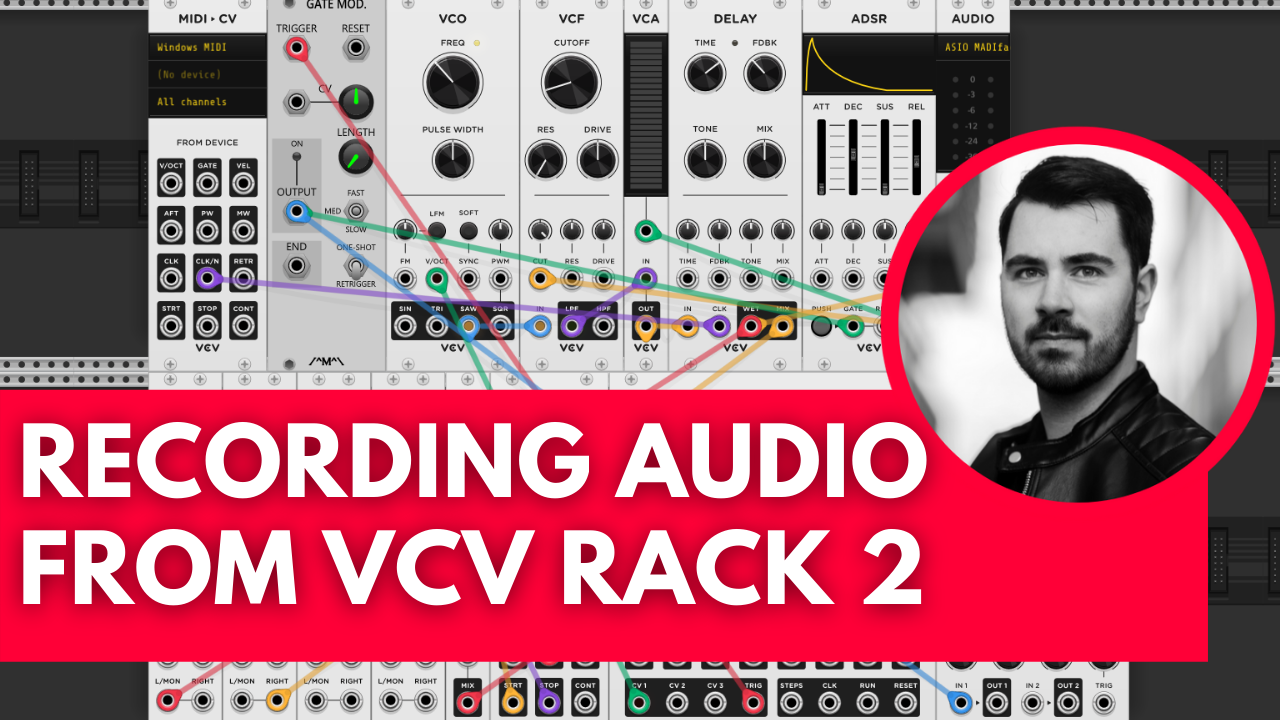
Recording audio in the free version of VCV Rack 2 isn’t as easy as you might expect it to be. In this video, I’ll show you how to record audio in 3 different ways.
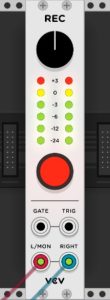
1. VCV Rack Recorder Module
The first method uses VCV Rack’s own Recorder Module. All you need to do is Patch a cable to the recorder and press record. The module will record audio files to a folder on your computer. You can even record screen captures of your Rack! The perfect way to showcase your skills on Instagram and TikTok.
2. Audio Loopback
Another easy way is to simply route two spare outputs from your audio interface back to two inputs. This might not satisfy the purists because of its additional DA/AD conversion required, but it’s quick to set up. And while you’re at it, you can also add some hardware effects like guitar pedals or what have you.
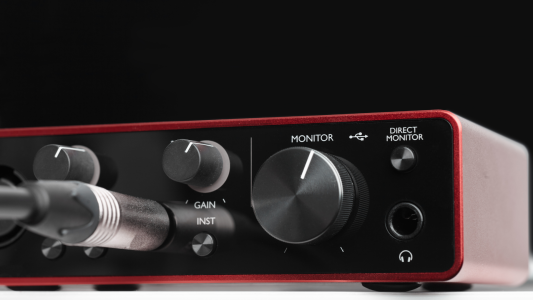
3. Virtual Loopback
Some audio interfaces like the ones from RME have a button that allows you to loop back audio internally. If your audio interface doesn’t have this option, you can download an application called Jack. This little but powerful program is available on both Mac and Windows and allows you to patch outputs from any software application to another. Thus allowing you to route audio directly from VCV Rack to your DAW. This is the most ideal way to record audio as you can even record multiple channels at once, but it does require some additional setup time.
And if you think this is all too much work, you can always grab a copy of the full version of VCV Rack 2 which comes bundled with a plugin. Let me know if you have any questions, and I’ll make a video about it in the future.
