The analog recording workflow
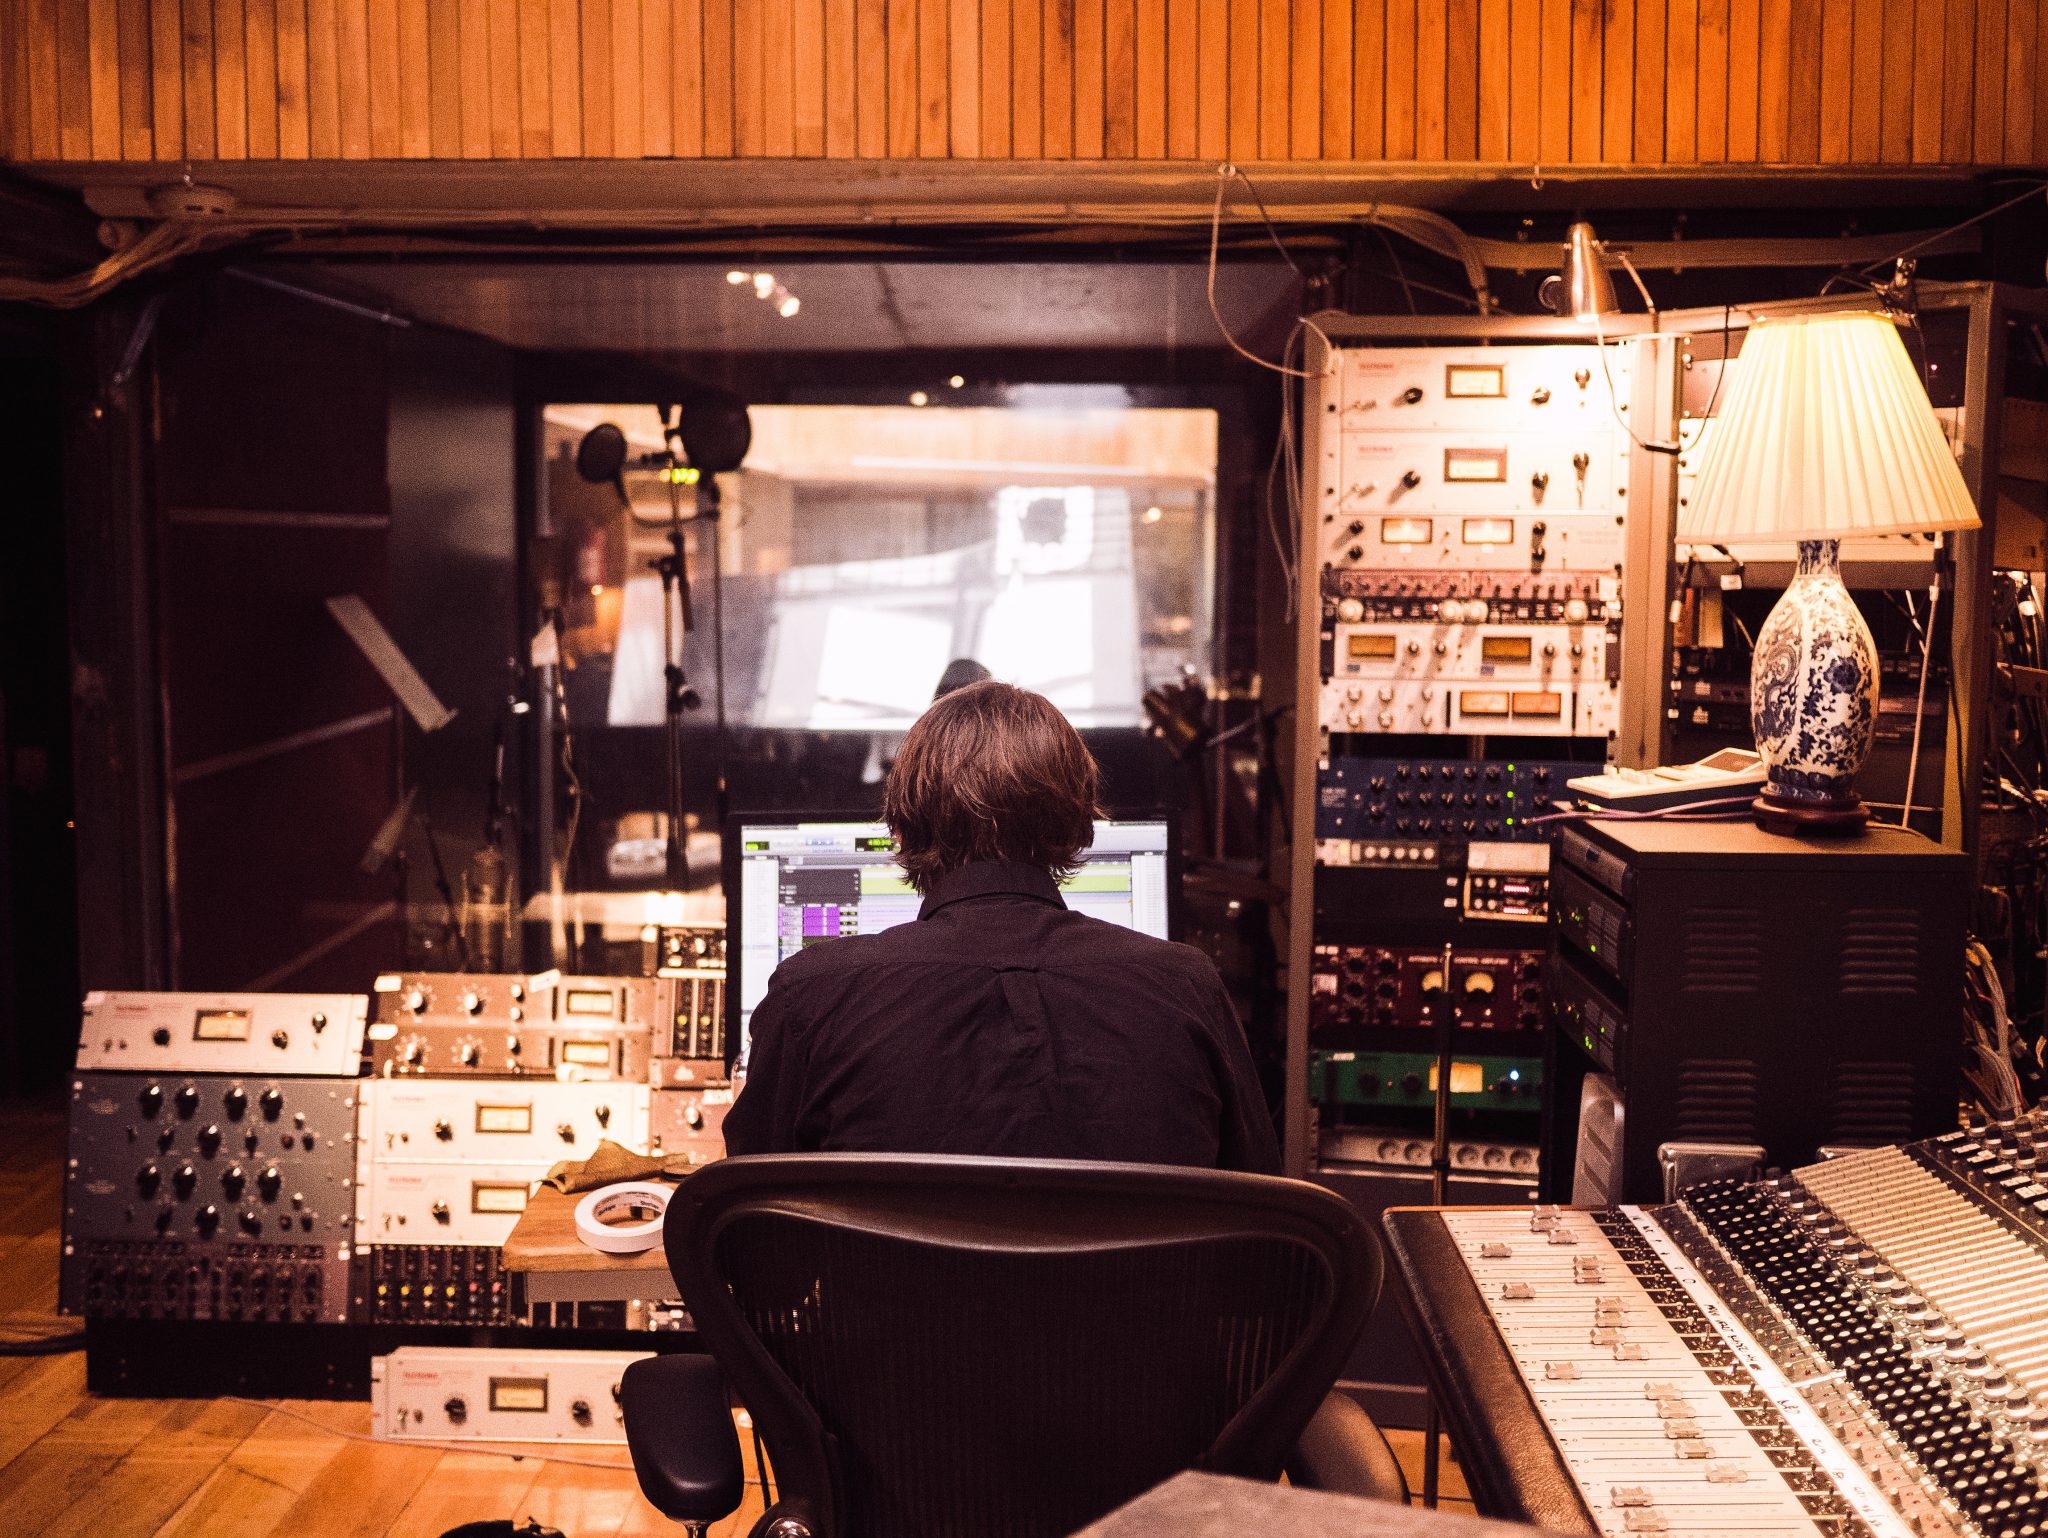
If you look at pictures of famous recording studios, you immediately notice the vast array of studio racks filled with vintage outboard gear. You might think it would be a waste of time and money to invest in outboard gear while we have access to an unlimited amount of powerful software plugins. And indeed, the differences between plugins and hardware are getting smaller and smaller. But there are more practical uses of outboard gear that I want to talk about in this article.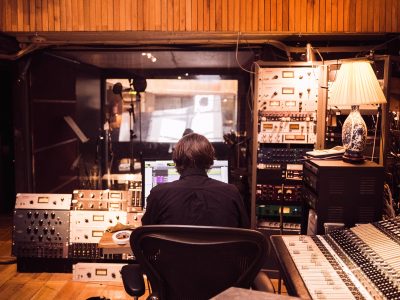
Why use outboard gear?
Some audio engineering schools give their students advise to record without any processing gear. They suggest to disengage all EQ’s on the board and to bypass all compressors. You can’t undo hardware processing that has been recorded. Why would you even use hardware processing if you can do everything in the box anyways?
While there is some truth in this statement, the advice given here is more aimed at beginning audio engineers. It makes you focus more on microphone choice and positioning and prevents you from over compressing your signals. If you ever listened to multitrack recordings of great engineers you’ll hear that the raw recording stems already sound great from the start. That is because 80% of the sound is already sculpted during the recording session.
Mixing starts when you press record
Experienced engineers know what the end result will sound like and make important mixing decisions when recording. Not only by applying EQ and compression but also by microphone technique, microphone choice and of course by tweaking the source instrument.
If you are just starting out, it might not be clear where the tracks are going right away, and that is why some teachers tell beginning audio engineers to just take the outboard gear out of the equation. But if you never make mistakes, how are you ever going to learn from them? You have to start somewhere, right?
Commit to your sounds in the box
Maybe you don’t currently have the money to buy outboard gear, there are still some ways to apply this workflow in the box. The problem with processing in the box is that it is applied after the recording. You can’t protect your converters with a compressor plugin to avoid clipping. But you can still commit to your processing choices in the digital domain. Cubase allows you to put processing on the audio input itself which means that effects are directly printed to your hard disk from the start. In most other DAW’s you can achieve the same result by bouncing or freezing all audio tracks.
Try to bounce the tracks immediately after you are done recording the part. This way you commit to your decisions and it forces you to think more creatively. By the end of your recording session, you will already have a mix that sounds great.
Another benefit of working this way will become clear when you start editing your tracks. Applying compression to a vocal take will bring up all softer sounds like breaths. If you lower vocal breaths without compression, your volume dips will be smaller than when you had compression applied. It might even help to apply rough compression settings during editing so you can hear how the final product will sound like.
