In the previous part about music production basics, we’ve learned the basics of tension & release. It’s good to have contrasting sections in your music but sometimes you need to gradually change from one section to another. This is where transition effects come into play.
What are transition effects?
Transition effects in music production are similar to video transitions used by video editors. They use various tools to smoothly blend between edits. Not only do transition effects help us transition between sections they can also add more drama and impact.
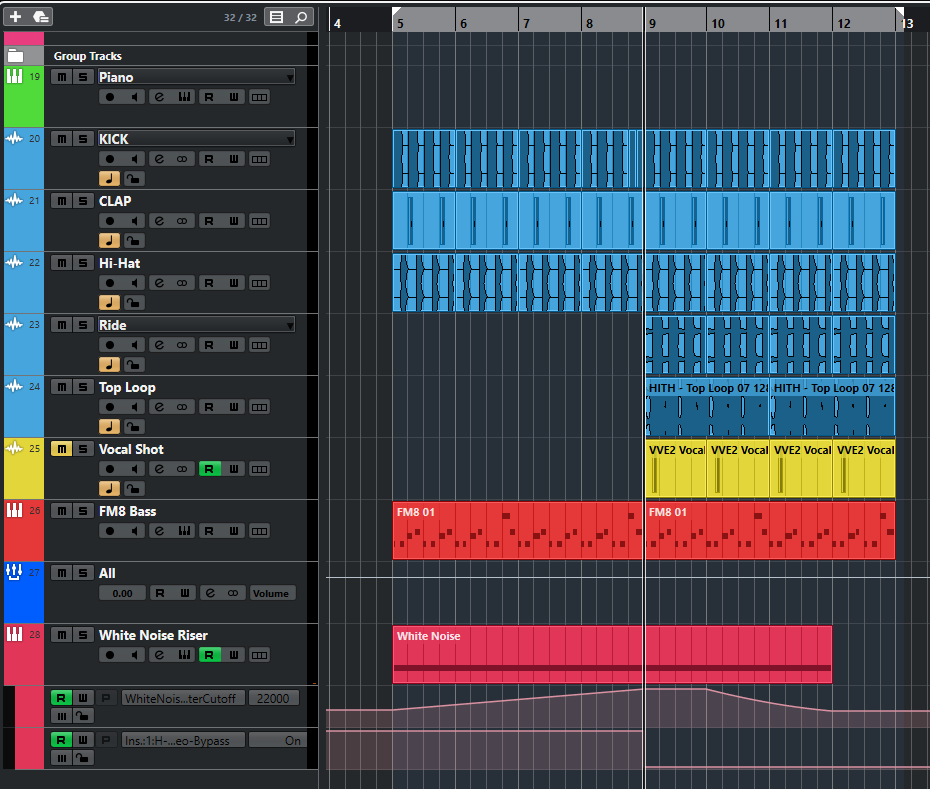
White Noise Riser
A common effect is to add white noise in the break while removing all high frequencies with a low pass filter. By slowly increasing the cutoff frequency you introduce more high-end over time. This builds tension until just before the drop you quickly filter down again. Sometimes you can even leave the noise playing with the cutoff fully open a few bars into the drop.
Reverse Sounds
The reverse feature found in any DAW is a very powerful tool that immediately turns any sound into a transition effect. If you take a crash cymbal, for example, you usually start with a big transient and an explosion of noise that slowly decays over time. Now if you reverse it, the opposite happens and you have the perfect sound that leads into a new section.
I often do cut off the transient when I reverse a sound so I don’t get a tick at the end.
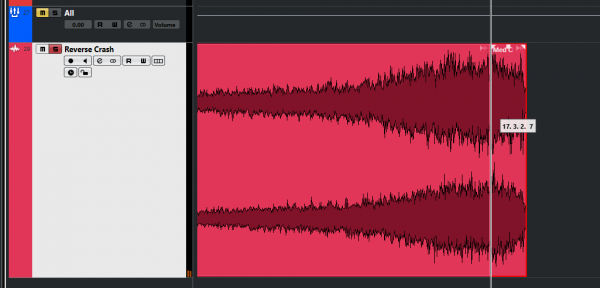
This reverse technique can be applied to any sound that starts out with a transient and then decays over time such as piano, guitar, drums and even vocals.
Reverse Reverb
Sometimes you might want to create a sound that introduces your vocal. A trick is to copy the first word of a vocal and paste it onto a new track. You then reverse this word and apply a long reverb with a wet/dry mix of 100%. Now bounce or record this track out so that you have a new audiofile drained in reverb.
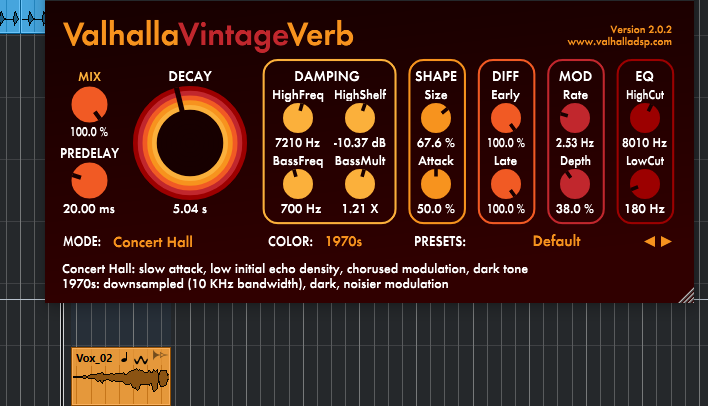
The last step is to reverse this audio file again so the original vocal plays forward again. But this time the reverb is reversed, thus creating a reverb tail that slowly fades in. Now move this part into place just before the original vocal part begins and you have created the perfect vocal introduction effect.

Subdrops
A sub drop is a low-frequency sweep spanning multiple octaves. It is similar to a kick drum sound in that it starts off with a high pitch and then quickly decays to a lower pitch. The only difference is that the tail is longer and there is usually no attack or transient.
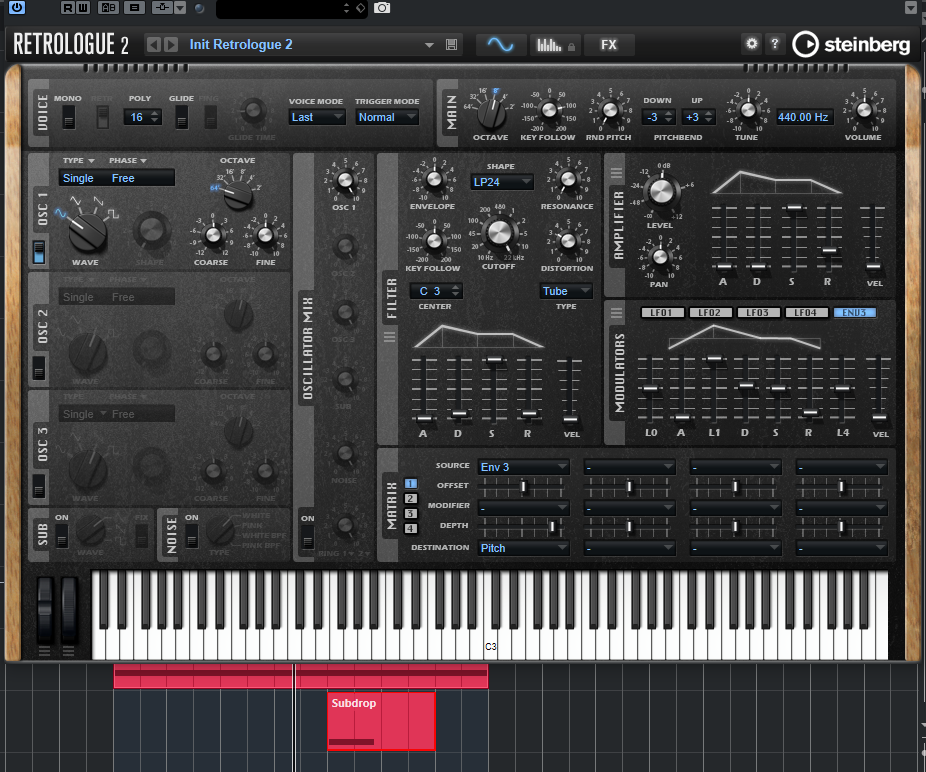
This kind of effect is usually used on the first beat of the break to indicate the kick is dropped out and to accentuate the start of a new section. This effect works great in the club because it makes those subwoofers rumble. It’s a real floor shaker.
Uplifters and Downlifters
Uplifters are sounds that create tension and downlifters release tension. The white noise riser is one example of an uplifter effect. But many different kinds of uplifters can be created by various sound design techniques.
A simple way to create an uplifter is to draw in a long note spanning several bars and automating the pitchwheel or pitch control of a synthesizer. Not all synthesizers can do this smoothly so make sure you use a synth that can do this without hearing a stepping effect. By adding various oscillators, detune settings, lfo’s and effects, you can create variations on this theme.
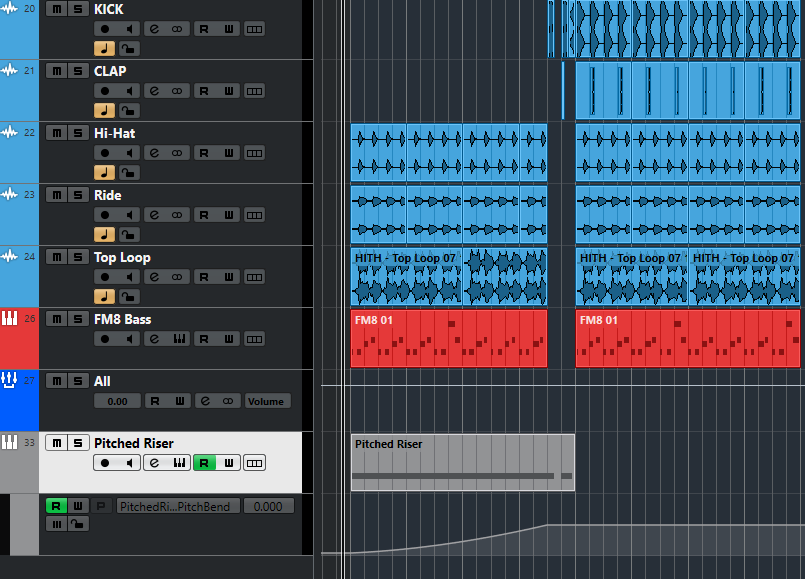
The sub drop is an example of a downlifter effect. Another easy way to create downlifter is to add a kick and a crash together with lots of reverb. This creates an impact sound. You can then layer it with synthesizer effects that fall in pitch or white noise with a closing cutoff automation track.

Of course, there are also hundreds of sample packs packed with up-and-down lifters available for download online.
Delay
Delay effects are great to prevent a sound from stopping dead in its tracks. If you want to transition into a break you can simply increase the dry/wet mix on your delay and increase the feedback amount so that the delays linger on for seconds after the last note has been played.
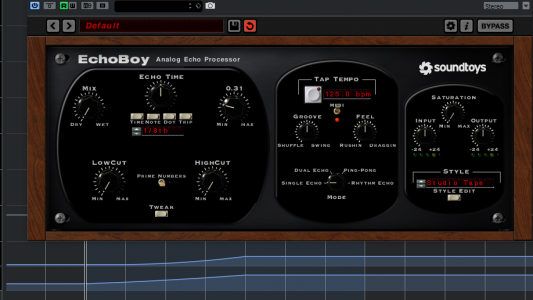
You can even take this one step further and increase the feedback level all the way into self-oscillation. By playing with the timing controls you can alter the pitch of the delays and turn them into uplifters and downlifters.
Be creative
Crash cymbals are often used on the first beat of a new section. But who says you have to do this? Why not use a crash cymbal on beat 4, just before the break? Try out different sounds that overlap between sections. A sound of metal chains with lots of reverb and delay is a good alternative to a crash cymbal. Don’t forget to use sidechain compression to add groove to otherwise static sounds.
This was the last article of this music production for beginners series. If you’d like me to write more articles or if you have ideas for other types of tutorials, please let me know in the comments or send me an e-mail.


