When you’re trying to learn your way around synthesizers and their various components, you’ve probably encountered the almighty low pass filter. It’s the default filter when you open up any soft synth and it’s used in 90% of tutorials and presets you’ll find online.
But, the low pass filter has an evil sibling, the high pass filter. Nah, it’s not evil at all! Although, it can be…
Let’s compare the low-pass filter to the high-pass filter, along with some practical use cases.
What’s a filter?
I’ve already covered filters on the Production Wiki but I’ll give you a brief recap.
A filter in music production is a tool that passes certain frequencies while blocking others. Similar to the sieve you’ll find in your kitchen. It stops your vegetables from spilling all over your sink, while you rinse them with water.

A filter can pass low frequencies, hence its name: low pass filter. Sometimes also referred to as high cut filter, since it blocks, higher frequencies.
On the other hand, there’s the high pass filter, which passes higher frequencies and blocks lower frequencies.
Filter Slope
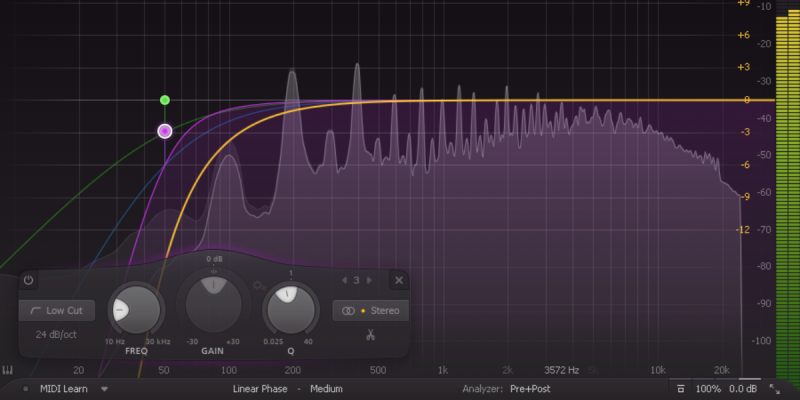
In reality, it never blocks frequencies though, it attenuates them. The level of attenuation is defined by the filter slope. The steeper the slope, the quicker it attenuates frequencies. The slope of a filter is expressed in decibels of attenuation per octave, or dB/Oct in short.
A filter with a slope of 6dB/Oct is the most natural sounding and is preferred when mixing. That’s right, filters are not only used in synthesizers. A high pass filter is often used to get rid of low-frequency rumble picked up by any microphone. Like when clumsy ‘me’ hits its foot against the microphone stand.
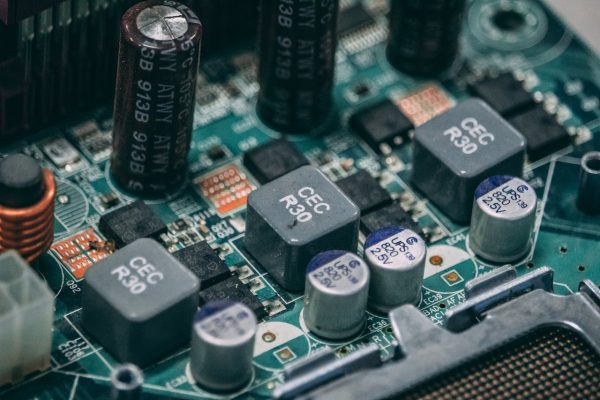
In electronics, filters are made from a collection of resistors and capacitors, and capacitors are the troublemakers here. A capacitor is like a battery, it charges while you apply a voltage to it, and then discharges after a while. But this process is never instant. There’s always a small delay between charge and discharge, and this delay causes a phase shift in our beautiful audio signals.
Smearing Transients
The steeper your filter’s slope, the more capacitors are needed, resulting in larger phase shifts. This phase shift is different for each frequency, however, which results in what audio engineers call ‘a smearing of transients’. This is equally true for both low- and high-pass filters. But it’s slightly more noticeable when you’re filtering out the low end on a kick drum because it changes the phase relationship between kick and bass.
Luckily in software, we’ve got a workaround for this problem thanks to the invention of linear phase filters. In this case, each frequency gets delayed by a similar amount, preventing the ‘smearing’ effect. It can, however, cause other artifacts like pre-ringing. But let’s not get too technical for now.
The gist of it is that you should always prefer a filter with the lowest slope as this sounds the most natural. This is often what you want when mixing. When you’re synthesizing sounds, natural, is probably not your preferred way of working. Most synthesizers use a filter slope of 12dB/Oct at minimum, often going up to 24dB/Oct, but usually no higher than that.
Filter Resonance
A powerful feature of a filter on any synthesizer is that you can apply resonance, sometimes called ‘emphasis’ or Q as it amplifies the area around the filter’s cutoff frequency. This is especially noticeable when you modulate the filter cutoff with an envelope or LFO.
If you apply a high amount of resonance on a high-pass filter, you can create some amazingly evil and gnarly sounds with the cutoff set to lower frequencies. When you increase the resonance enough, it will start to self-oscillate. The amplification is so extreme that it creates a new tone, a sine wave. But since the resonance boosts the level by quite a bit, all other components of the synth start to saturate or distort a little, resulting in sometimes extreme synth patches.
Combining low-pass & high-pass filters
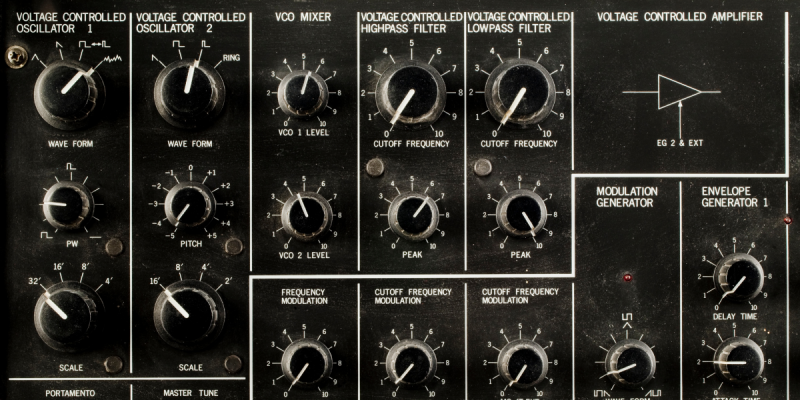
The beauty is when you combine both filters. That’s what the Korg MS20 is loved for. You can boost the resonance on the high pass filter to turn the synth into distortion while preventing harshness with the low pass filter. The free Vital synthesizer is an example of a synth that has two filters.

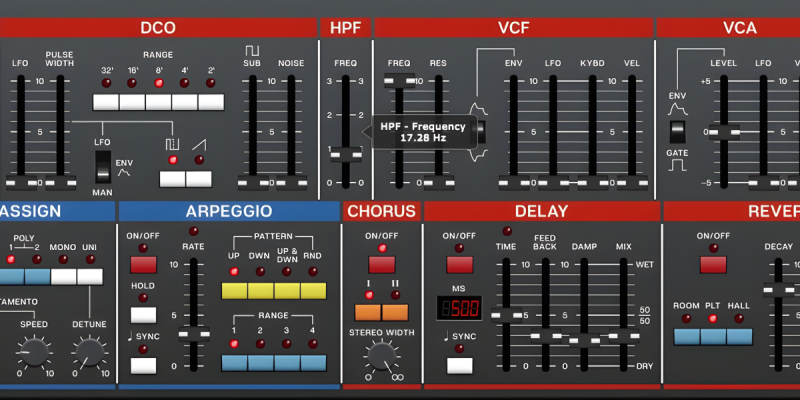
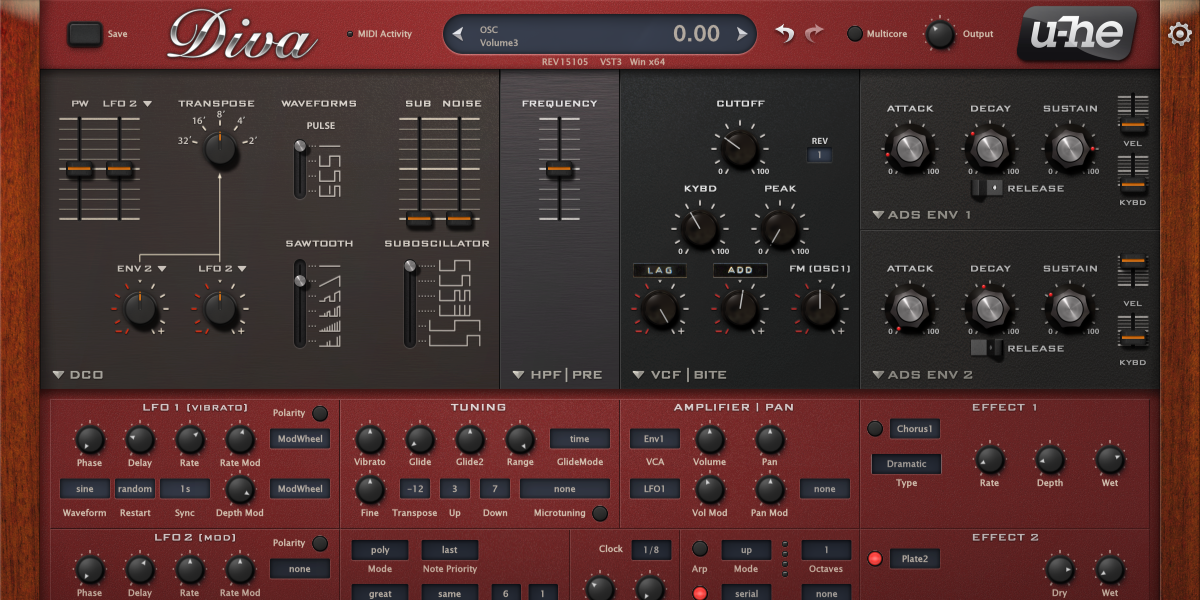
The Roland Juno series also has both a low- and high-pass filter, but unfortunately, the high-pass filter doesn’t feature a resonance control. Diva by U-He allows you to choose from various emulations including the MS20, Juno, Moog, and other filter types.
So that’s the difference between low-pass filters and high-pass filters! Use it creatively to come up with unique sound effects or gently to free up space in your mix.
If you want to learn more about music production have a look at the Wiki section of this site and if you require more assistance I offer private coaching calls to help you level up your production skills.
