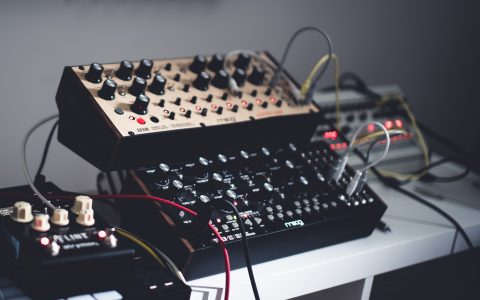
I have always been intrigued by Eurorack or modular synthesizers in general. The ability to pick and choose your own synthesizer building blocks and the ability to customize the signal flow opens up an infinite amount of sound design possibilities. And while software like VCV rack is fun, nothing beats the real deal of a physical eurorack setup.
Google, Google, and Google some more
When doing some research online I knew that Eurorack was the format I wanted to work with. It is 3U in height (a.k.a. 3HE) and has lots of modules available from hundreds of different manufacturers. I wanted to start with a small monophonic synth that could be expanded in the coming years.
The first thing on my list was a Eurorack case. Scouring the internet didn’t really encourage me as prices for a simple 3U case are around 200 euros. This is a lot of money for a piece of wood. I figured it would be better to build one myself.
The Power Supply Unit
Of course I also needed a power supply. Eurorack uses a standard power format with +12v and -12v power lines similar to a computer power supply. Some older modules require 5v but I wasn’t too worried about that. After looking at the high prices of retail power supplies online I decided to broaden my DIY route. AISynthesis is a company that offers a power supply kit working on an external 12v AC adapter. Working with an external adapter seemed safe enough as I didn’t want to mess around with mains voltage.
Entering the world of DIY Eurorack Modules
Browsing through the AISynthesis website, I noticed they also offered DIY module kits. If I were to make the case and power supply already, why not make the modules themselves as well, right? This got me started on my journey to create my first Eurorack mono synth. I ordered an envelope generator and an MS20 filter kit from AISynthesis. For the power supply, I ordered the printed circuit board only as ordering the parts separately from somewhere else is a bit cheaper.
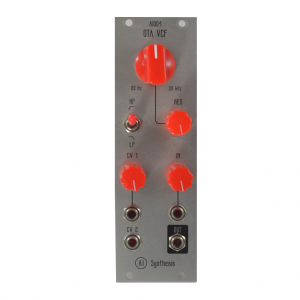
Ordering parts was a bit harder than expected. Browsing through sites like Mouser and Farnell made me wonder what all of those parts were doing as I had no electronics experience apart from the few lessons in high school. Luckily AISynthesis provided me with a crystal clear bill of materials (BOM) which made the ordering part a bit easier.
I now ordered two modules and a power supply but I needed a little more than that to create a functional synthesizer. I needed a module to produce sounds, and some way to convert midi to control voltage and gate signals. Researching the Eurorack DIY market led me to a site in the UK called Thonk.
Ordering some more modules
Thonk is an awesome site with loads and loads of DIY Eurorack kits and for good prices too! After watching some YouTube tutorials about getting started in Eurorack I made a list of modules that I needed and compared them all through YouTube videos. At first, I wanted to buy some Erica Synths Polivoks clones. But later I decided to go the digital route for my oscillators as this provided me with more options.
Mutable Instrument’s Clones
I eventually found a site called Amazingsynth which offers PCB’s and aluminum panels for Mutable Instruments modules. Mutable Instruments is an amazing company that decided to open up their designs to the DIY community. The one thing that scared me a little bit was the fact that all Mutable Instruments modules require SMD soldering. SMD stands for Surface Mounted Device which literally means that components are soldered on one side of the circuit board. In comparison to regular ‘through-hole’ soldering this is a lot harder because the parts are way smaller.
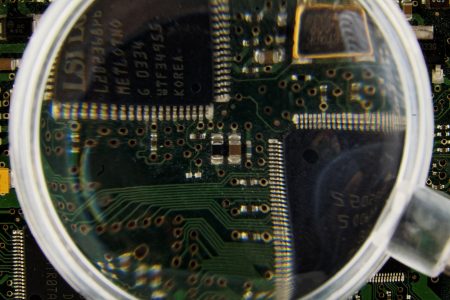
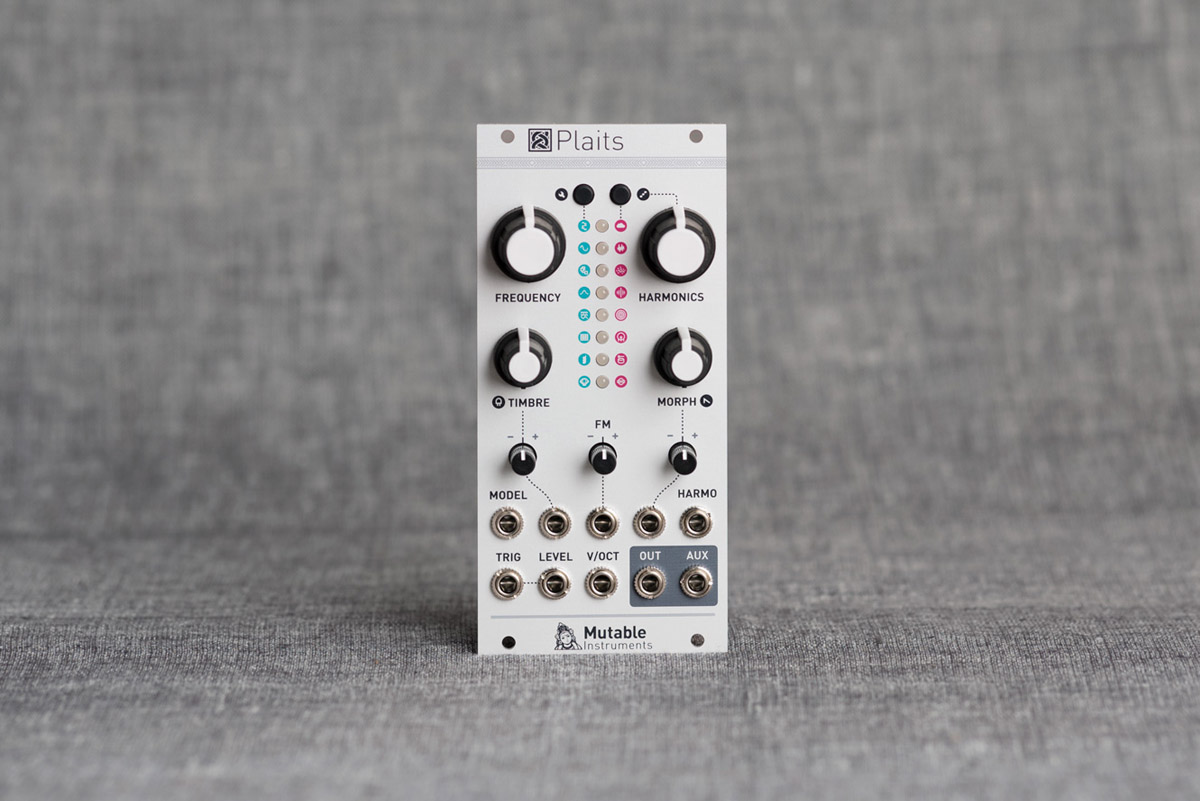
Amazingsynth provides 0603 style PCB’s which, after a bit of practice, is doable by hand soldering. By hand I mean with a regular soldering iron as these types of components are usually assembled by pick and place machines. I ordered three boards from amazingsynth: Yarns, Clouds and Plaits. Plaits is a digital macro oscillator with loads of different functions. Clouds is a granular delay / reverb and Yarns is a midi to cv interface and sequencer.
Upgrading the toolkit
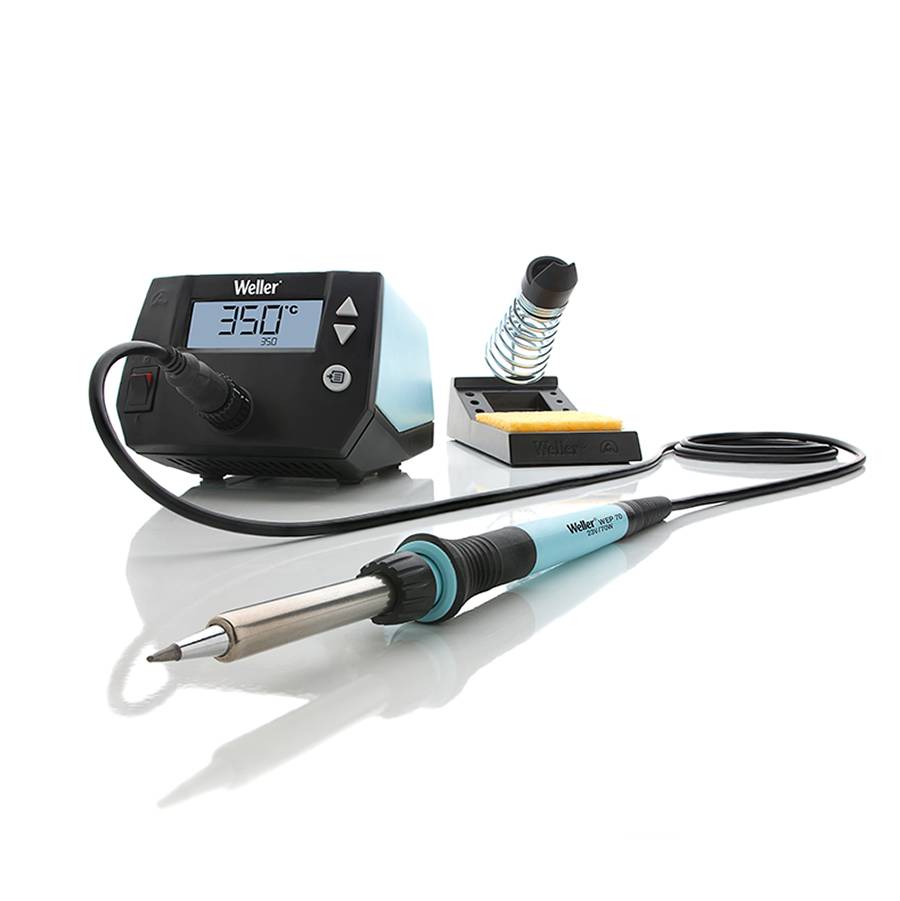
With all these up and coming DIY projects I decided it was time for a better soldering iron than my basic €30 one. So I ordered a Weller WE1010 soldering station which allows me to switch between a selection of different soldering tips, and Weller is, of course, a well-respected brand. This turned out to be a good investment in the end.
After ordering from Amazingsynth I also ordered some SMD practice kits from AliExpres for about €2,- a piece. These practice kits allow you to solder different SMD packages from large to really tiny. 0402 parts were about the smallest I could solder by hand. Other tools I needed were a set of anti-static pliers, a magnifying headband, 0.38mm leaded solder, and some flux. Flux is usually included inside the solder core itself but additional flux is needed to make the bonding of SMD parts easier. I also recommend buying some isopropyl-alcohol for cleaning any flux residue from the PCB. Even if you use so-called ‘no-clean flux’ cleaning is still a useful thing to do.
Other Modules
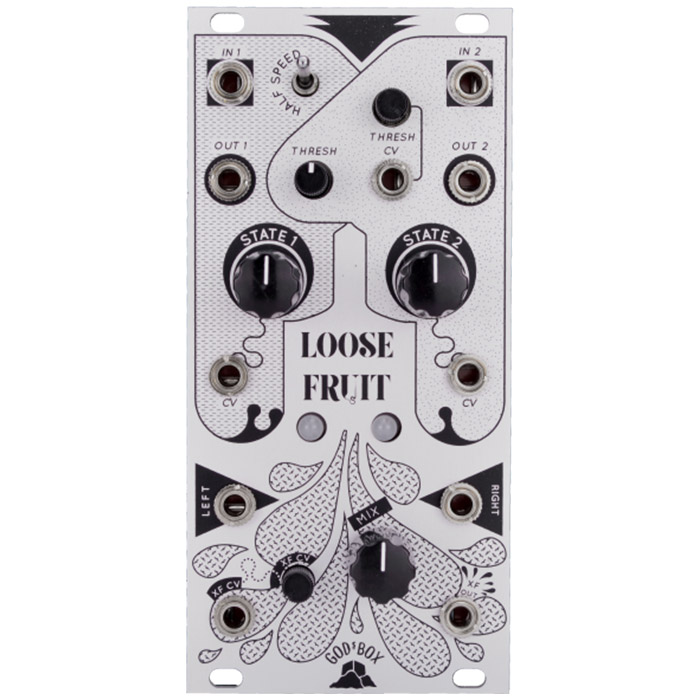
From Thonk I bought two modules: Gods’ Box: Loose Fruit and the Manhattan Analog DTA. Loose Fruit is a dual waveshaper that adds harmonics and sub-harmonics to the signal. The Manhattan Analog DTA is a VCA based on an original Minimoog design and can add some subtle saturation to your rack. VCA’s are pieces of modular that I didn’t think I needed at first, coming from a subtractive synthesizer background. But they are more important than you might think. In essence, a VCA is a volume control but it comes with CV inputs. So if you patch the output of an envelope generator to the CV input of a VCA you can control the amplitude of the synth. Thonk is also a good resource for getting patch cables and the famous Thonkiconn Jack socket. Thonk can even deliver Alpha potmeters which are used in almost all the modules I built.
On Modulargrid (a nice tool to organize your up and coming rack) I planned my setup and noticed I had 9hp left for additional modules. Erica Synth’s has a bunch of modules in the pico range. Which are modules of only 3 HP wide. (HP is a unit for width) There are no DIY kits for these modules so I had to buy them pre-build, but these modules don’t break your bank account. The last 3 modules I bought were the Pico VCO, Pico Mod and Pico A Mix. Respectively a digital oscillator/LFO, an attack/decay envelope + VCA and a 3 channel audio mixer.
Here is my current rack planned out on Modulargrid: https://www.modulargrid.net/e/racks/view/901047
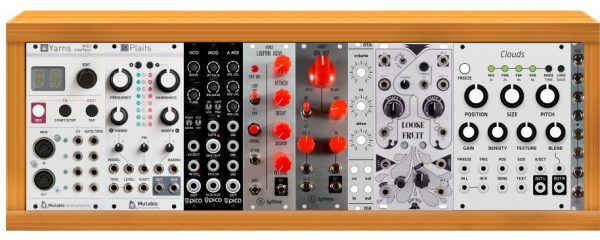
If I would buy everything pre-build it would cost me around €1.800,- Fortunately DIY is way cheaper than that. In part-2 of this series, I will talk about the mistakes I made when building the modules and the final build cost I ended up with.
Part-3 describes my setup, how it works and how I use it so stay tuned for more!
