Mixing music is something that many producers struggle with. There is an abundance of tutorials on YouTube that show you all the latest mixing hacks and secrets. While a basic understanding of audio is required to improve your mixing skills, having access to high-quality mixing plugins is another way to increase fidelity.
But an EQ is just an EQ, right? That’s true, but there’s a vast difference in how these EQ plugins are programmed. All audio processing adds artifacts, and the highest-quality plugins are designed in such a way as to minimize these artifacts.
This is also true for hardware, by the way. That’s why mastering equipment is so expensive.
So, without further ado, let me give you a list of the plugins I recommend music producers should get to level up their mixes.
1. Waves H-Compressor
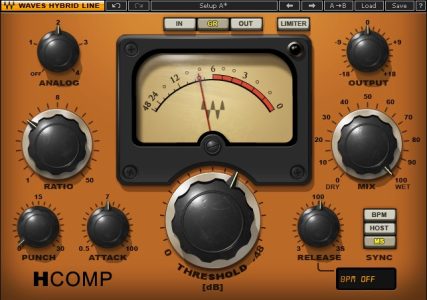
The first plugin ever bought was the Waves H-Compressor. It’s part of Waves’ Hybrid line and emulates analog compression with some added benefits. It features a mix knob to blend in the dry signal for parallel compression. I haven’t seen this before on any other compressor plugin, but you can also set the release time in musical values, such as 16th notes.
There’s a punch control to add smack or transients to your sound, almost like a transient designer. It features four analog models that do more than add noise; they change the attack and release curves, which are a big part of a compressor’s sound.
What’s the advantage over my stock compressor?
Depending on which DAW you use, not all compressors feature a VU meter. FL Studio’s compressor doesn’t show anything at all, making it almost impossible to dial in the amount of gain reduction. Compression is difficult enough to understand for beginners, so a clear user interface is a must.

Also, most stock compressors are designed to sound clean and transparent since they are built to work on various sounds and instruments. So, having a compressor with more color is an excellent addition to your toolbox.
I’ve also found this compressor introduced very little latency, making it perfect for return tracks for New York-style compression with an EQ after it. Many stock plugins introduce phase issues when used in parallel, but not this one, so I use this all the time for parallel drum or vocal compression.
Things to look out for
The only disadvantage of this compressor is the make-up gain, which is enabled by default and can’t be disabled. We tend to think that louder sounds better, so don’t fool yourself. Luckily, there’s an output level control, so turn down the level manually for a fair comparison.
2. Waves API 550 EQ
For the same reason, I recommend an analog-modeled compressor plugin; it’s also helpful to get some colorful EQ options. Most DAWs nowadays feature a parametric EQ with a built-in spectrum analyzer. Even though Fabfilter’s Pro Q3 is my most used equalizer plugin, I wouldn’t recommend it to beginners for this exact reason.
Fill the plugin gap
On a side note, with every third-party plugin you have in mind, always prioritize the plugins that are not available as stock plugins in your DAW. Ableton doesn’t have an analog EQ model, while Cubase does. So, the reason number one is to upgrade is always to fill a gap.
Then, after you feel you’ve got the right tools, but the quality of your stock plugins isn’t high enough, it’s time to upgrade.
So why should I get an analog EQ plugin?
They add some saturation and use broad filters and bandwidths that sound more natural when boosting. Generally, I use a parametric EQ to cut unwanted frequencies and then boost the lower and higher frequencies with an analog EQ plugin.
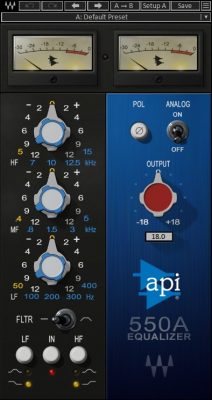
The Waves API 550 series is perfect for adding high-frequency shine and air to your mixes. I use it all the time on hi-hats, vocals, acoustic guitars, kickdrums, basically anything that requires a bit of extra top end.
3. Waves Puigtec EQ

The Pultec is a tube equalizer famous for its ability to boost and cut simultaneously. Since the frequencies and filter curves are slightly different, this results in adding low-end without bringing up muddiness in the lower-mids.
High frequencies boost with a Pultec EQ also sounds lovely, and you can get away with immense boosts without it ever sounding harsh.
Alternative
I started with the Waves ‘Puigtec’ version, but the UAD version sounds a bit better in my opinion. You can now get UAD plugins in a subscription form called UAD Spark, an excellent alternative to buying their individual and costly plugins. They are, however, way more taxing on your computer’s processing power, while the Waves plugins are typically very light in use.
Cubase now offers a Pultec plugin as a stock plugin, and so does Logic, which may be worth checking out first.
4. Valhalla DSP Vintageverb
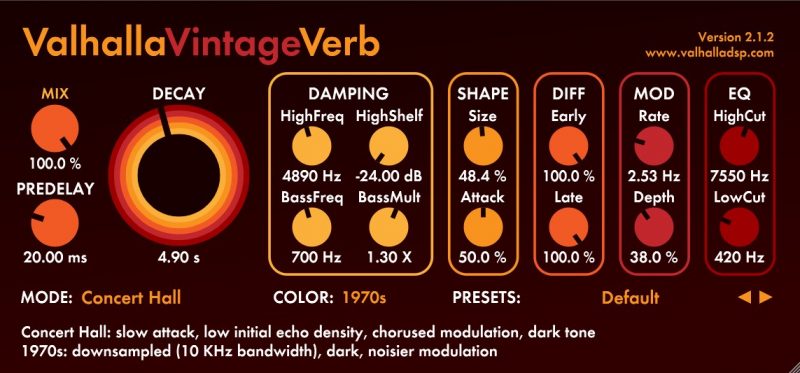
Then on to Reverb! It’s one of those plugins no producer can live without. All DAWs have stock plugins, but they rarely sound great. If there’s one reverb plugin you need to buy that can do everything, it’s Valhalla’s Vintageverb. It’s an algorithmic reverb, meaning you can create unrealistically long or impossibly short reverbs and everything in between.
There’s a long list of helpful presets and various reverb algorithms to choose from, but the default preset is what I use 90% of the time. It’s an excellent plugin that’s not CPU intensive and only costs $50 USD.
5. Abbey Road Chambers by Waves
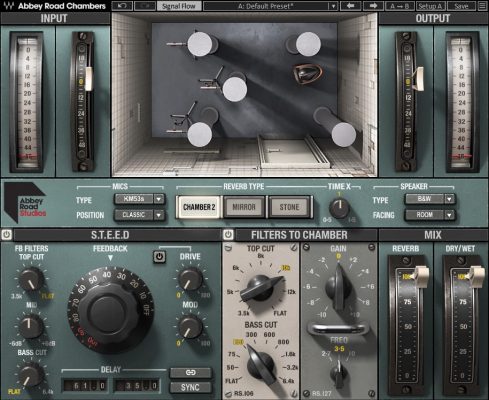
In addition to an algorithmic reverb, a convolution reverb or emulation of a mechanical reverb like a spring or plate is an excellent addition to your sonic toolbox. Room reverbs like the Abey Road Chambers plugin are especially useful for electronic music producers to add some depth to synthesizer and drum computer sounds that are otherwise pretty sterile in terms of acoustics.
While Valhalla’s Vintageverb is more of an abstract reverb, a chamber reverb is literally a recording of a speaker in an echo chamber. This plugin is great because you can change microphone positioning, add independent delays for the left and right channels, shorten the room size, and add feedback, EQ, and distortion to impose all kinds of character.
UAD also has some fantastic chamber reverbs, but these are very taxing for your CPU and don’t always work well on electronic instruments like this Waves plugin. I mainly use it on vocals, claps, synths, and hi-hats to add some front-to-back depth to a mix.
6. Waves De-Esser
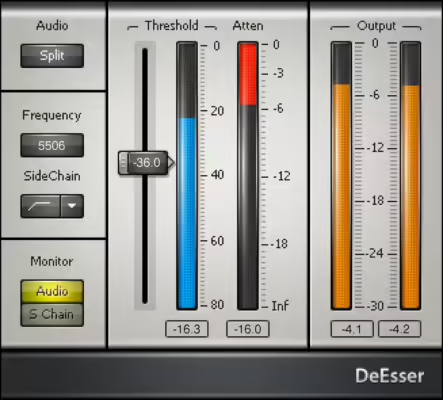
For some weird reason, Ableton doesn’t include a stock de-esser. It’s essential when mixing vocals as these loud ‘s’ sounds are incredibly distracting in a mix. The more compression you use, the more these ‘s’ sounds stand out in the mix, so if your DAW doesn’t have one, then the Waves De-Esser is a good pick.
My favorite
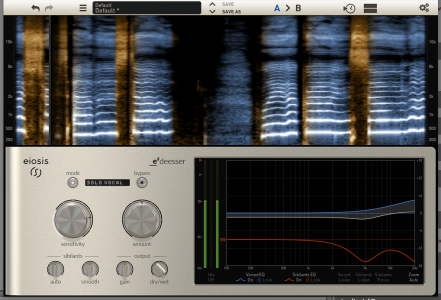
My favorite de-esser, after trying out at least ten different de-esser plugins, is the Eosis E2 de-esser, available from Slate Digital. Now, I mix music for a living, so it’s worth it in my case, but if you’re starting out on your production journey, the Waves de-esser should be more than enough. All manufacturers offer trial versions, so go ahead and download a bunch and see which ones perform best.
7. Waves Smack Attack
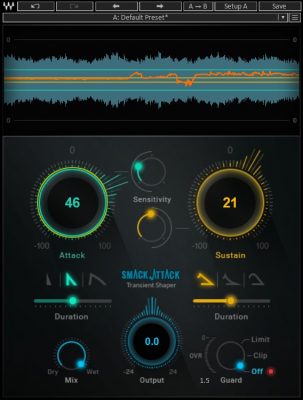
It may seem like I’m sponsored by Waves, but honestly, their plugins are incredibly versatile and affordable. I’ve been producing and mixing for over ten years, so I’ve tried and tested these plugins. A plugin that’s often missing in most DAWs is a transient designer. This plugin allows you to change the attack and sustain of a sound without needing to dial in a threshold like a compressor. Perfect for adding a little click to a kickdrum or, conversely, getting rid of clickyness. It’s also helpful to reduce the boominess of a kick or add some body to a piano or snare drum.
8. Melodyne
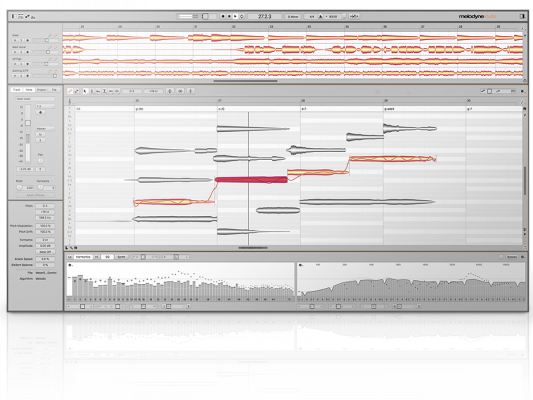
Finally, pitch-correcting vocal parts is often necessary. The problem with autotune or similar plugins is that they often correct notes that shouldn’t be corrected.
Cubase and Logic have excellent vocal correction built-in. In fact, I’ve tuned thousands of tracks with Cubase’s Variaudio. It offers all I need, is extremely fast, and sounds great. But for other DAWs like Ableton and Pro Tools, you need a third-party plugin, and the industry standard is Melodyne.
Load in your vocal parts, string parts, bass lines, or anything else that requires tuning, and correct only those notes that need fixing. Or apply a bit of general quantization and fix the rest by hand. With this fantastic application, you can even create doubles and harmonies or convert audio to MIDI.
Plugin Bundles
Often, plugin bundles are way cheaper than buying individual plugins. Most of these bundles are on sale at least once a year, mainly during Black Friday, but if you can get your hands on an educational discount, that’s the most affordable route.
Arturia FX Collection
If you want a large amount of high-quality effects for a decent price, then the Arturia FX collection is an excellent addition to any producer’s and mixer’s plugin collection.
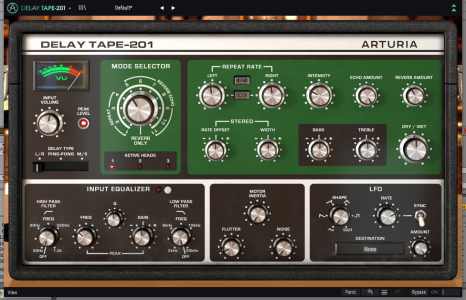
The plates, springs, and space-echo emulations sound amazing, as do their pre-amp, distortion, and delay effects. They emulate vintage gear but do so by adding additional features, making them more practical than the real deal.
Native Instruments Komplete
If you’re serious about music production and composing in various music genres, then Komplete is a no-brainer. Apart from the music libraries and synthesizers, a considerable amount of effect plugins are also included. Depending on your goals, this one’s worth checking out. But wait for the sales though, usually during summer and at year’s end.
Soundtoys Collection
You’ve probably heard about Decapitator and Echoboy, right? They are two of the most famous plugins ever made and for a good reason. All soundtoys plugins are incredible, and honestly, the only plugins that nail the analog sound, especially the distortion part.
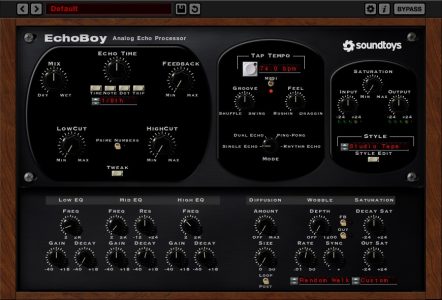
The Soundtoys collection is an incredible upgrade that will improve your mixes by miles. It comes at a steep price point of $499, but it can be bought on sale during black Friday for considerably less.
So, when to upgrade?
Even though I just gave you a long list of plugins, you can create amazing mixes with nothing more than stock plugins. It totally depends on your production style and genre and whether you see this as a hobby or profession. Always ask yourself two questions when looking for new plugins.
- Do I have a stock plugin that does the same thing?
- Is this plugin an addition or upgrade to my existing plugins?
Don’t fall into the trap of buying fancy plugins just because some random YouTuber told you to. Download demo versions and see if they improve your situation.
Also, don’t go on a buying spree; start with one or two plugins and master those before moving on to the next. Learning each plugin’s pros, cons, and sweet spots takes time.
Let me know if you have any questions, and if you want to learn more about music production, I’m offering private classes online or in person in my studio in Amsterdam.
